The Ultimate Guide to Drywall Installation
Drywall installation is a fundamental aspect of home improvement and construction projects. Whether you are building a new home or renovating an existing space, understanding the drywall installation process is essential. This guide will provide you with comprehensive insights, tips, and techniques to ensure a successful drywall installation.
What is Drywall?
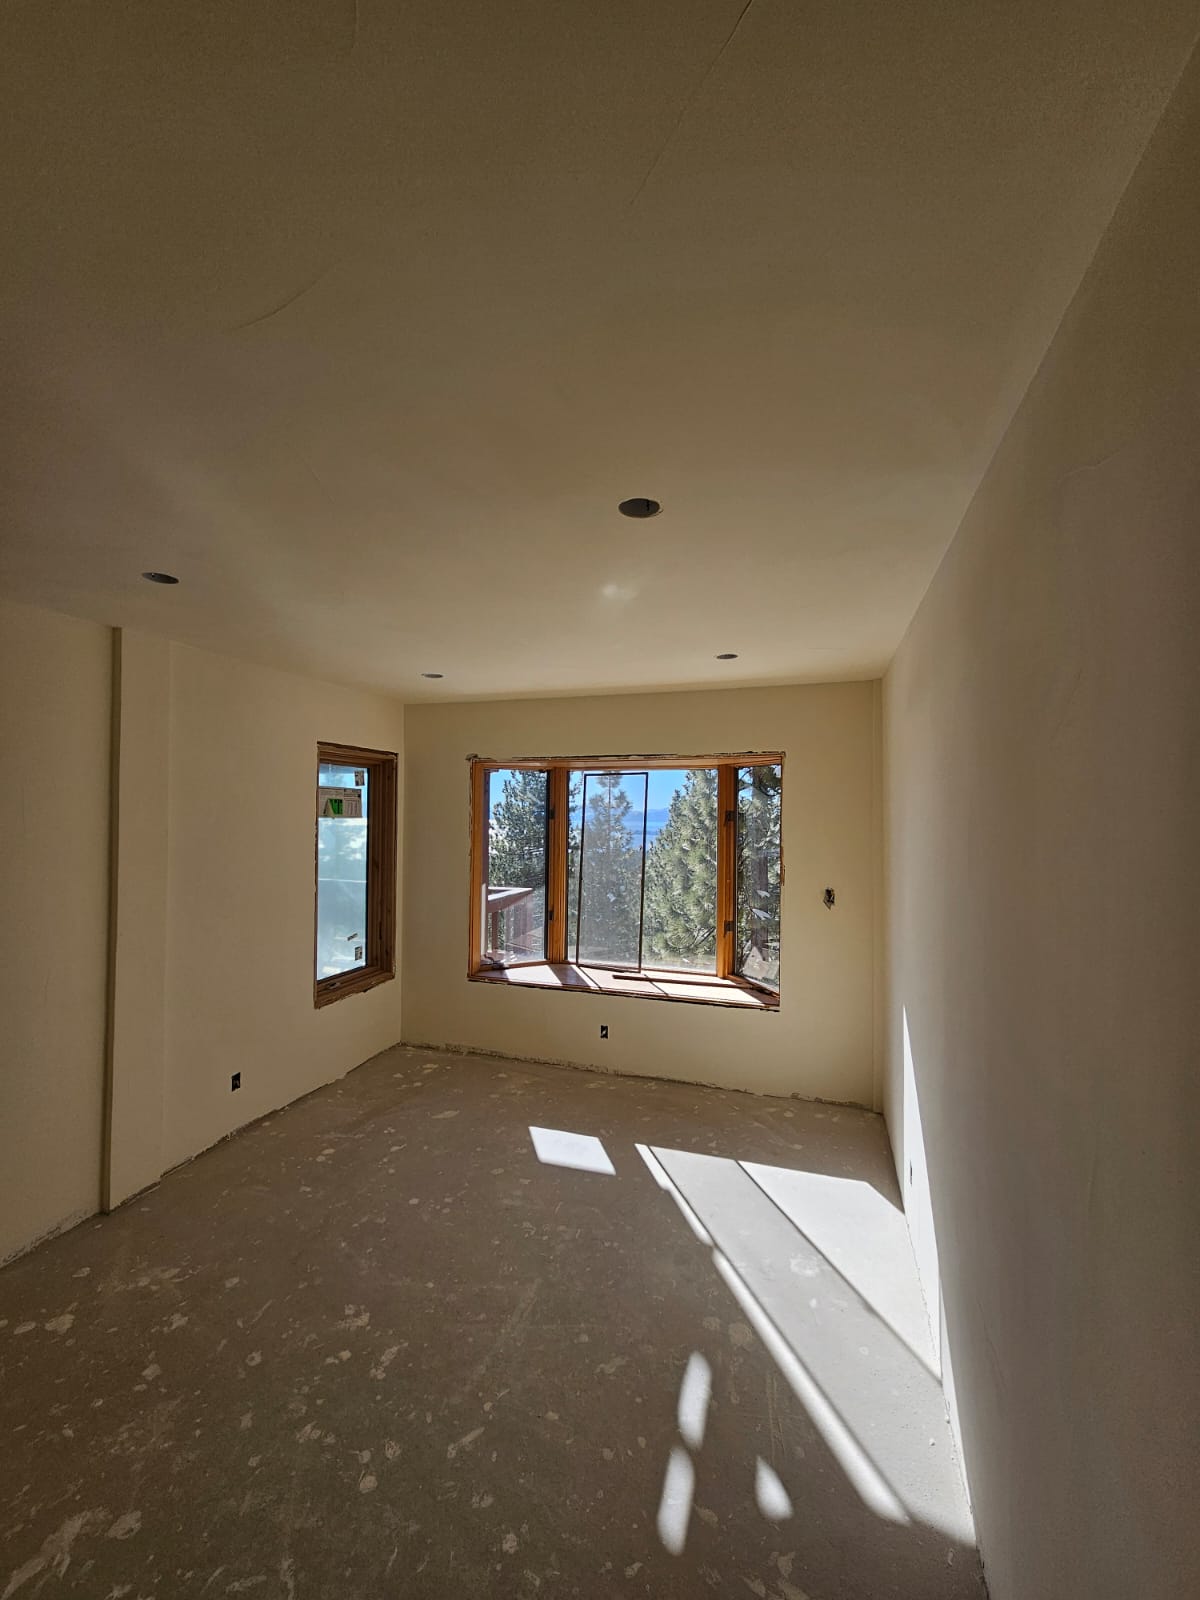
Drywall, also known as gypsum board or plasterboard, is a construction material used to create interior walls and ceilings. It is made of a core of gypsum surrounded by thick paper, making it an ideal choice for creating smooth and durable surfaces.
Why Choose Drywall for Your Home?
- Quick installation process
- Cost-effective compared to traditional plaster
- Fire-resistant properties
- Soundproofing capabilities
- Provides a smooth finish for painting and decorating
Tools and Materials Needed for Drywall Installation
- Drywall sheets
- Drywall screws
- Drywall tape
- Joint compound
- Drywall saw
- Utility knife
- T-square
- Measuring tape
- Screw gun
- Mud pan and knife
- Sandpaper or sanding block
Step-by-Step Guide to Installing Drywall
Step 1: Prepare the Space
Before starting, ensure that the area is clean and free of obstructions. Remove any old drywall, debris, or fixtures that may hinder the installation process.
Step 2: Measure and Cut the Drywall
Use your measuring tape to determine the dimensions of the walls or ceilings. Cut the drywall sheets using a utility knife and drywall saw, ensuring clean edges for a better fit.
Step 3: Install the Drywall Sheets
Begin at the top of the wall and work your way down. Use drywall screws to secure the sheets to the framing. Ensure screws are slightly recessed into the drywall surface.
Step 4: Tape and Mud the Joints
Apply drywall tape over the seams between the sheets. Cover the tape with joint compound using a mud knife. Allow it to dry completely before sanding.
Step 5: Sand the Surface
Once the joint compound is dry, sand the surface smoothly to prepare for painting. Use a sanding block or sandpaper to achieve a flawless finish.
Step 6: Prime and Paint
After sanding, apply a primer to the drywall surface followed by your choice of paint. This will enhance the appearance and durability of your walls.
Common Mistakes to Avoid
- Neglecting to measure accurately, leading to ill-fitting sheets
- Using the wrong type of screws or fasteners
- Skipping the taping and mudding process
- Failing to allow adequate drying time for joint compound
- Not sanding properly before painting
When to Hire a Professional
While drywall installation can be a DIY project, there are instances when hiring a professional is advisable. Consider professional help if you:
Conclusion
Drywall installation is a vital skill for both homeowners and contractors. By following the steps outlined in this guide and avoiding common mistakes, you can achieve professional results. Whether you choose to tackle the project yourself or hire a professional, understanding the drywall installation process will help you create beautiful and functional spaces in your home.